Supported Touchscreen Displays
10” LVDS 1280×800 – GLT1011280800is1
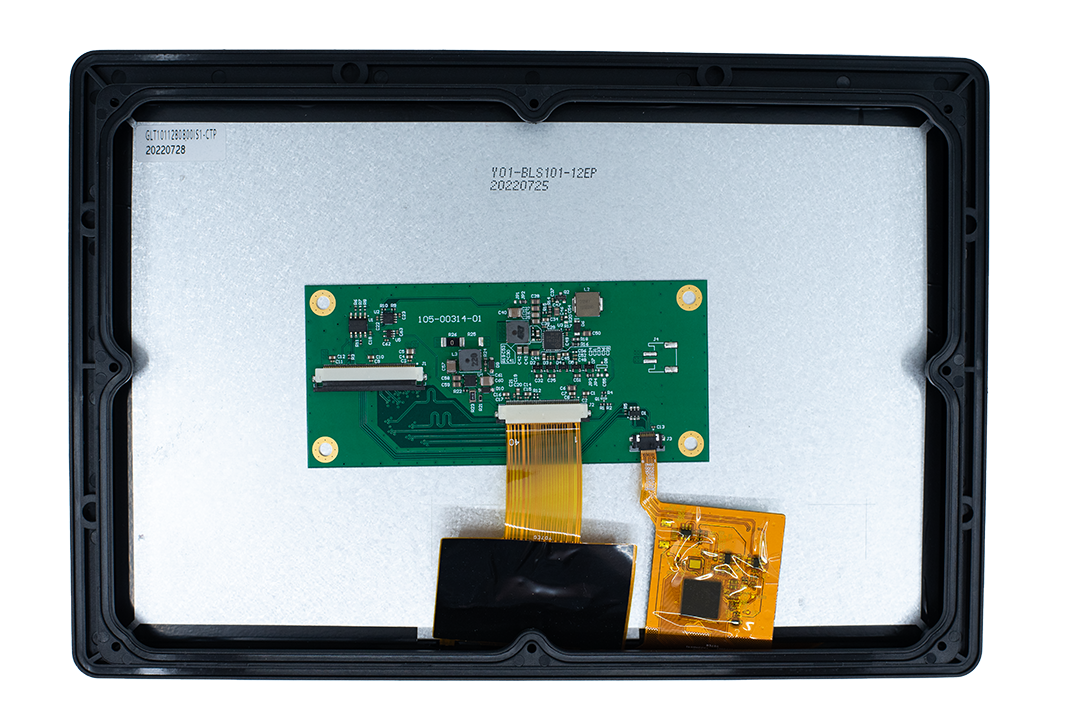
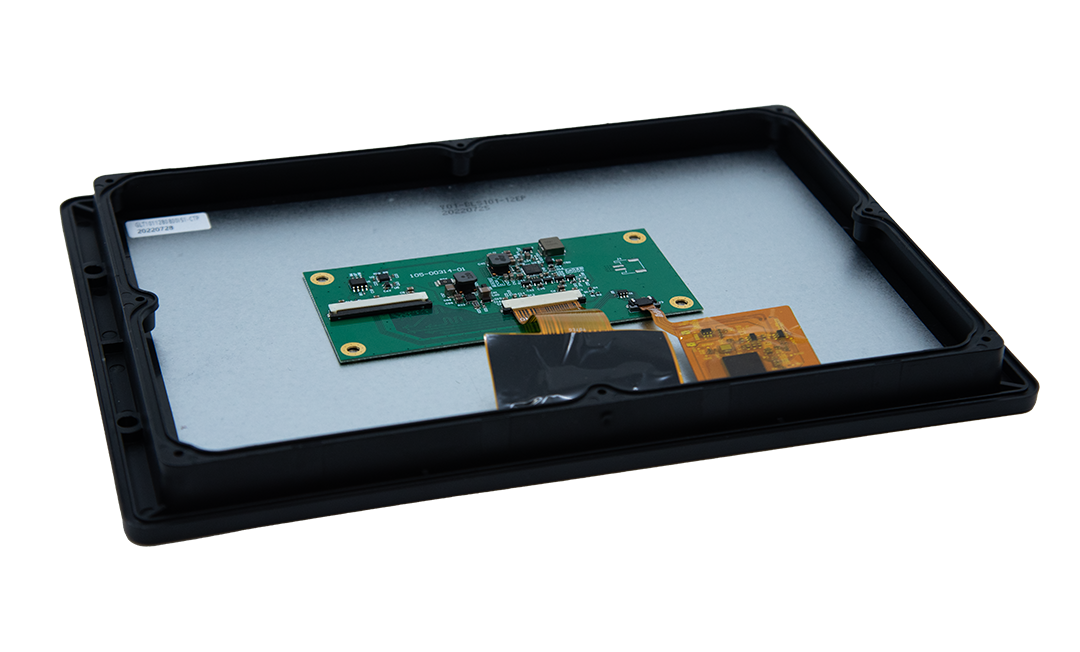
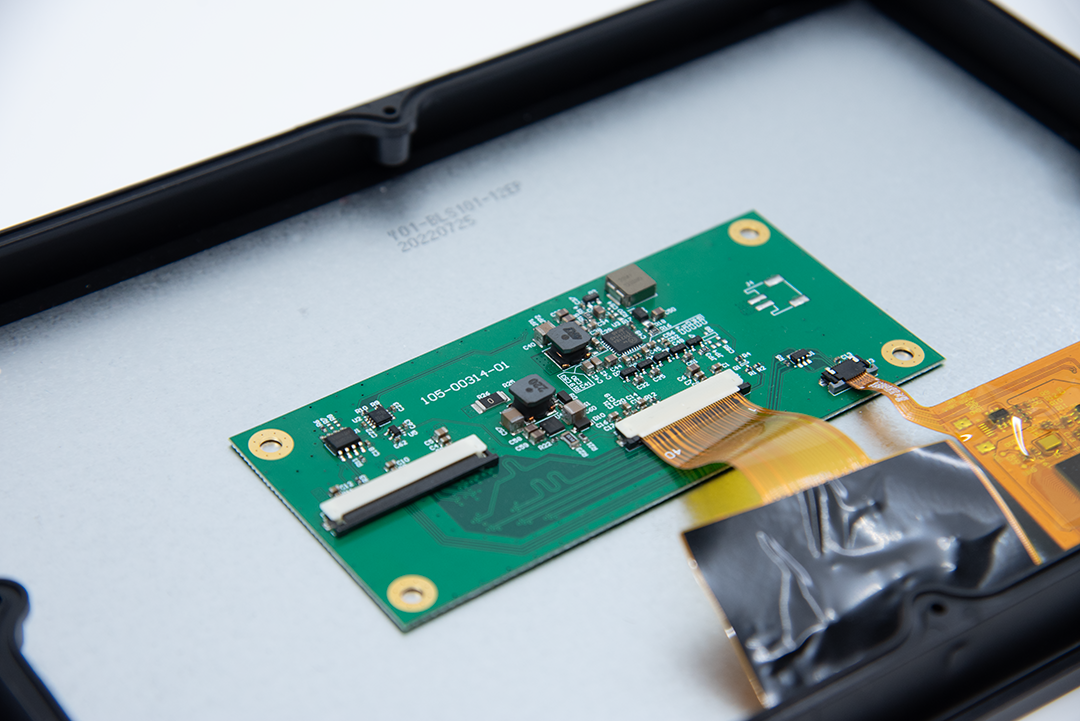
5.5” MIPI-DSI 720×1280 – GLT0557201280is1
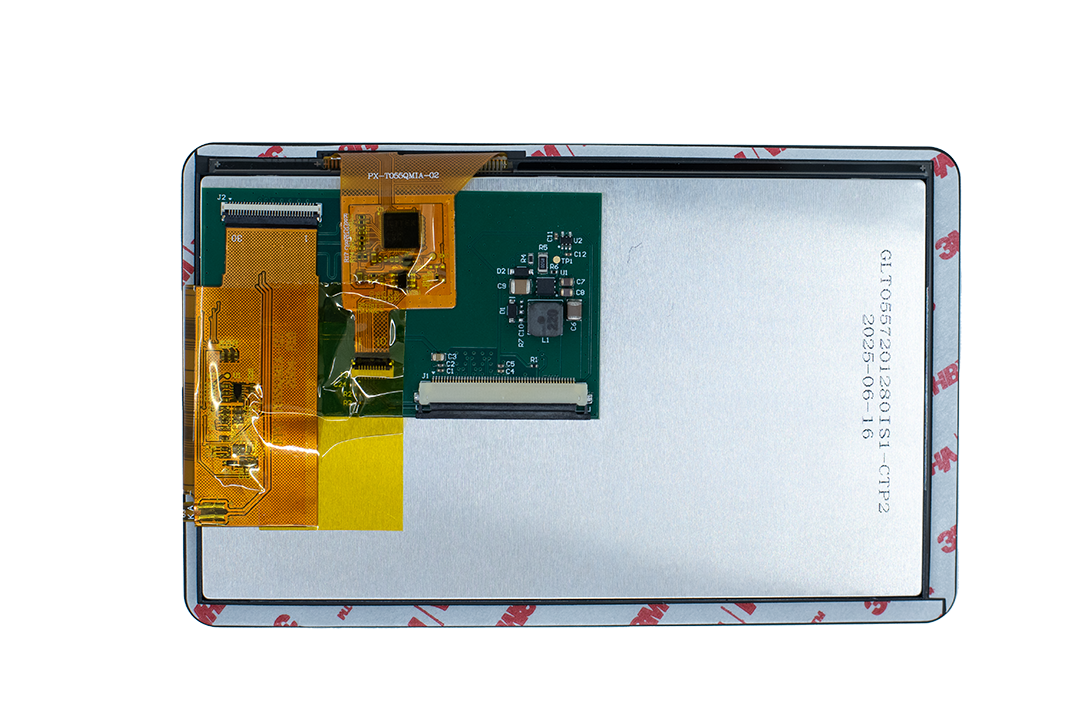
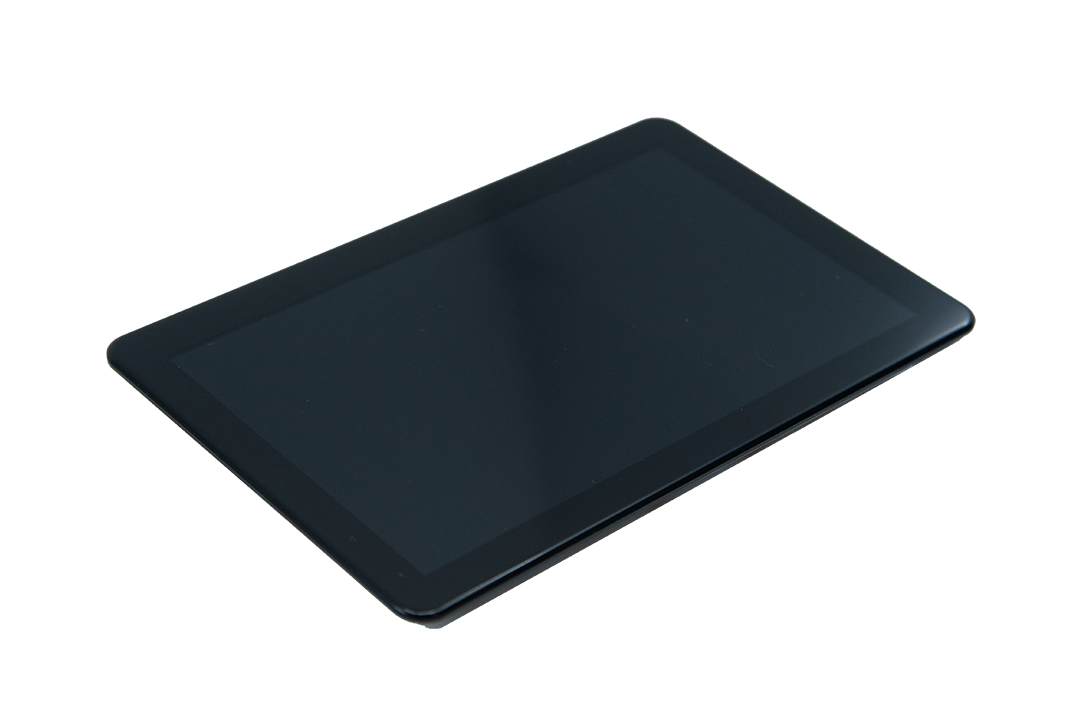
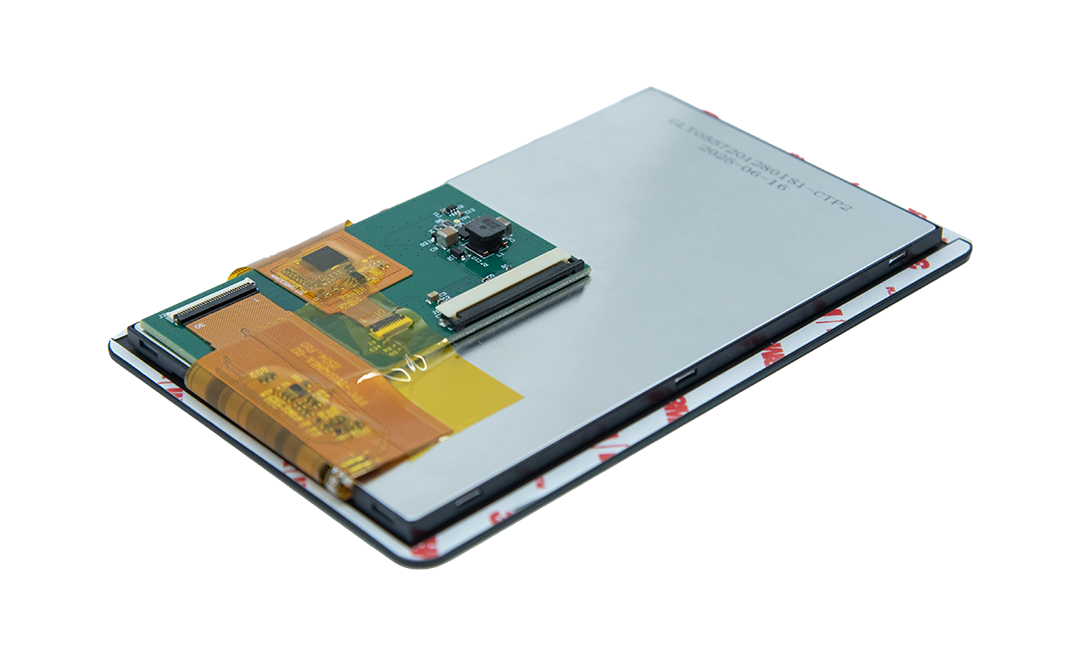
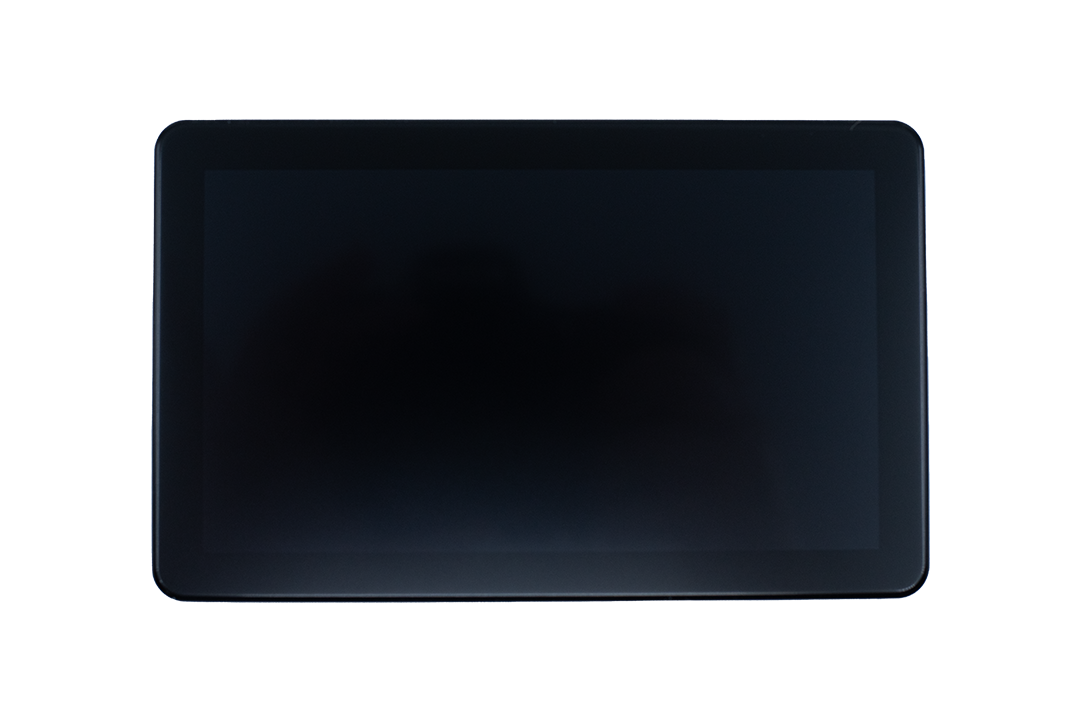
2.8” SPI 240×320 – GLT028240320is1
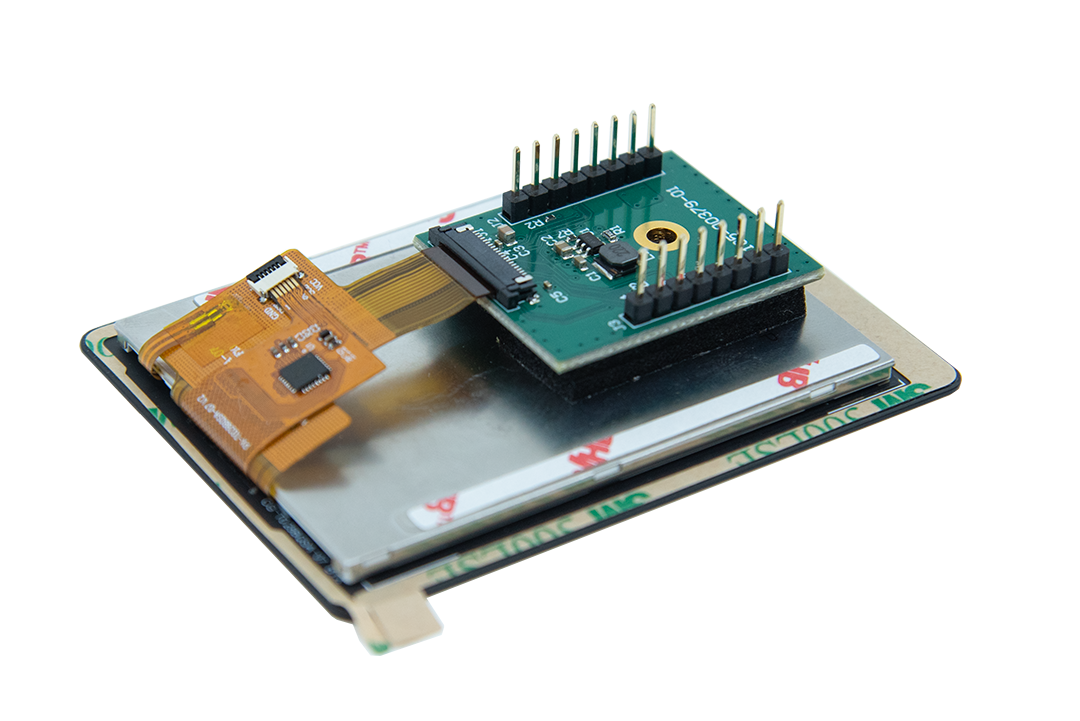
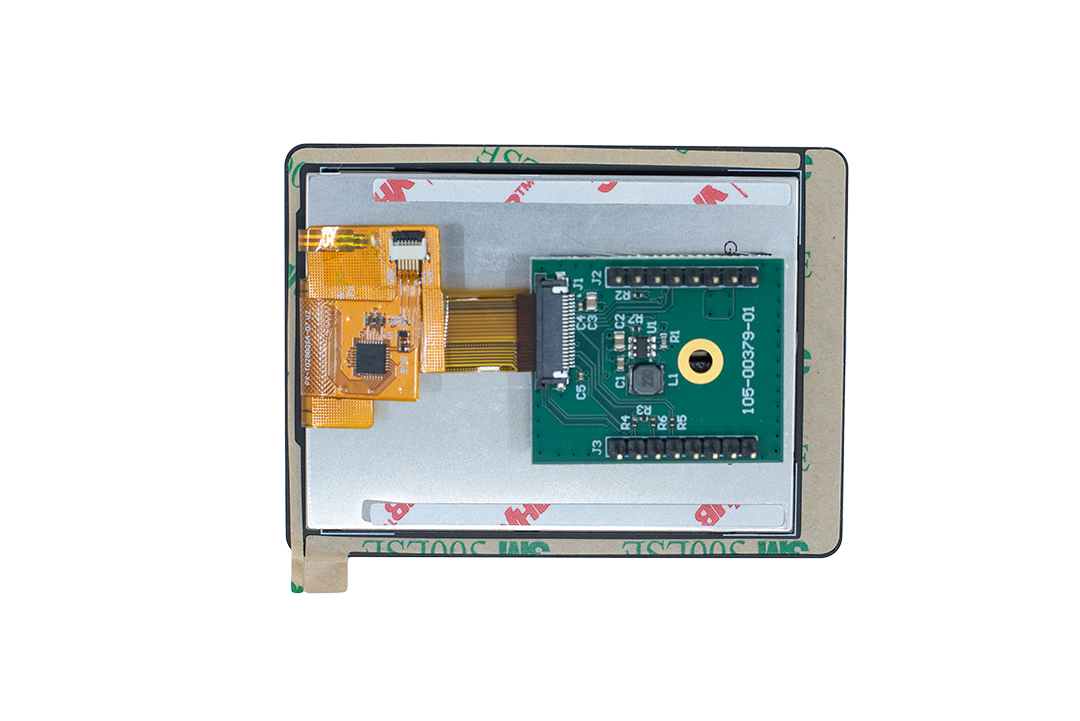
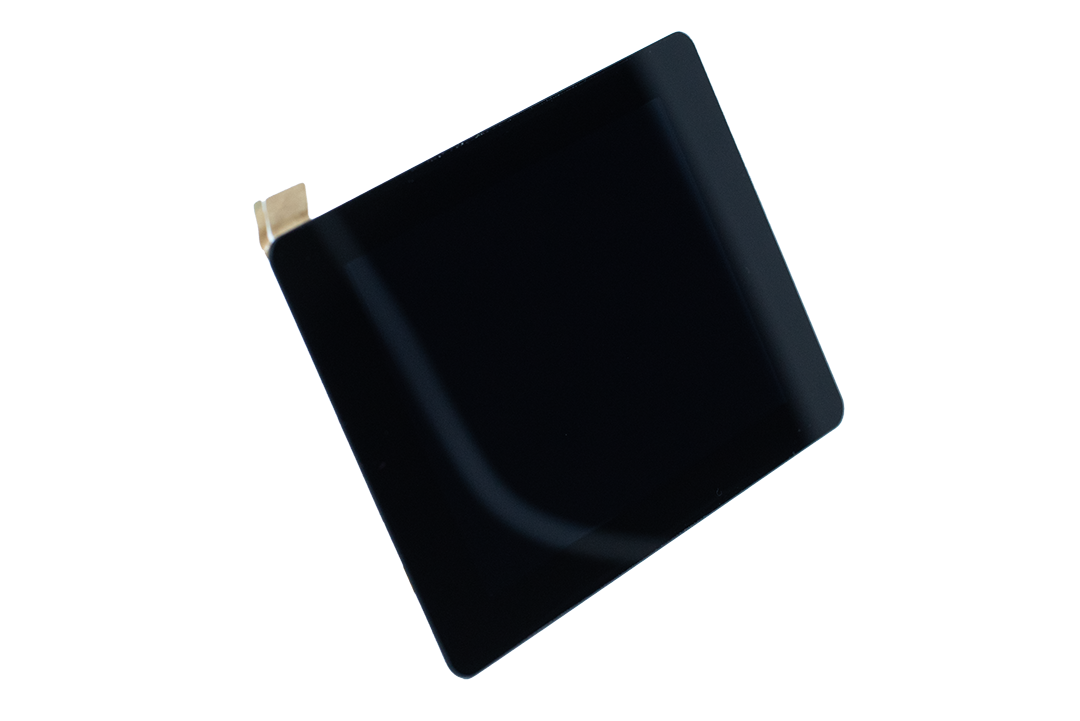
The 2.8” display connects to the carrier’s mikroBUS socket through the Cargt 00379 mikroBUS adapter. It works with the i.MX 91 and i.MX 93 00363 on the 00365 and 00428 carriers, and with the STM32MP2 00395-01 and 00395-02 on the 00365 carrier. The i.MX 8M Plus 00377 doesn’t support it.
The display runs landscape, at 320x240. Touch (FT6236) and the PWM backlight are in the display’s device tree, with the touch axes matched to the landscape panel.
The 00379 wires the touch controller’s reset to the mikroBUS RX pin, which the carriers pass to the SoC as an input only. The adapter’s pull-up holds the touch controller out of reset, so software can’t reset it.
The backlight runs at 200 Hz, because the adapter’s backlight driver only dims at a low PWM frequency.
Weston can’t use the GPU on this SPI panel. When the image detects it, it starts Weston with the pixman renderer (and RGB565 on i.MX) and a smaller Cargt logo, using a copy of
weston.iniin/run/cargt-weston. Other displays keep the stockweston.ini.
Select the display’s device tree as described in Software Configuration.
Connecting Displays on a Cargt design
Electrical Connections
Identify the display interface supported by your LCD display (e.g., LVDS, MIPI-DSI, SPI).
Display Part Number |
Interface |
Size (inches) |
|---|---|---|
GLT1011280800is1 |
LVDS |
10 |
GLT0557201280is1 |
MIPI-DSI |
5.5 |
GLT028240320is1 |
SPI |
2.8 |
Identify the corresponding connector on the carrier board or SOM for the display interface.
Ensure the display is powered off before making any connections.
LVDS & MIPI - There are 2 types of flex cables used for these display interfaces
Type A: Top-Top
Type B: Top-Bottom
The flex cable type needed depends on the specific display model and board revision. Always refer to the documentation for your specific display model and board revision to determine the correct flex cable type if unsure.
Warning
Pin 1 on display connector MUST connect to Pin 1 on the board. Only rely on the silkscreen PIN markings and documentation to identify Pin 1 on both the display and board. Do NOT rely on the “J” silkscreen marking position as it may not be consistent across different display models or board revisions.
Identify the CORRECT flex cable needed to connect the display to the board.
Orient the board and display connectors, identifying and aligning Pin 1 on both. Then select the flex cable type (A or B) that matches the orientation of the connectors and allows Pin 1 on the display to connect to Pin 1 on the board. You may have to fold the flex cable in a specific way to achieve the correct orientation.
Warning
Do NOT kink the flex cable as it may damage the internal wiring and cause the display to not function properly.
SPI - The SPI display uses a Cargt MikroBus adapter board and standard MikroBus cable, so the pinout is consistent across different display models and board revisions. The adapter board is shown in the 2.8” photos above.
Software Configuration
The pre-compiled images from the Cargt Package Repository Images include a device tree for each display Cargt sells, but most machines boot the device tree without a display by default. Only the i.MX 93 00363 on the 00428 carrier boots with the 5.5” MIPI-DSI display (glt0557201280is1) selected. On every other machine, including evaluation kits with a display, select the display’s device tree with fdtfile as shown below.
If you are using your own display, you may need to modify the device tree to configure the display correctly. Build a custom image with your device tree changes as described in the Yocto Tutorial. A guide to customizing the device tree is planned.
How to check which display device trees are available:
As part of build:
ls <build_dir>/tmp/deploy/images/<machine>/*.dtb
On target device:
ls -l /boot/*.dtb
# Example output - NXP:
/boot/imx93-cargt-00363-00365-glt0557201280is1.dtb
/boot/imx93-cargt-00363-00365-glt1011280800is1.dtb
/boot/imx93-cargt-00363-00365.dtb
# Example output - STM32MP2:
/boot/stm32mp257f-cargt-00395-02-00365-glt0557201280is1.dtb
/boot/stm32mp257f-cargt-00395-02-00365-glt1011280800is1.dtb
/boot/stm32mp257f-cargt-00395-02-00365.dtb
Set the correct Device Tree Blob (DTB) for the display by modifying the U-Boot environment variable fdtfile to point to the appropriate DTB file that matches your display model.
See U-Boot Environment for how fdtfile is written and how to change it from the U-Boot prompt.
Write the new value in the same form as the current one. On i.MX the value
is a path relative to the root partition, starting with boot/. On
STM32MP2 it is the file name alone, for example
stm32mp257f-cargt-00395-02-00365.dtb.
fw_printenv fdtfile  # the current value, to copy its form
fw_setenv fdtfile boot/<dtb_file_name>          # i.MX
fw_setenv fdtfile <dtb_file_name>               # STM32MP2
reboot
Examples:
# For GLT0557201280is1 5.5" MIPI-DSI display:
fw_setenv fdtfile boot/imx93-cargt-00363-00365-glt0557201280is1.dtb

# For GLT1011280800is1 10.1" LVDS display:
fw_setenv fdtfile boot/imx93-cargt-00363-00365-glt1011280800is1.dtb

# The same display on an STM32MP2 00395-02:
fw_setenv fdtfile stm32mp257f-cargt-00395-02-00365-glt1011280800is1.dtb

# For GLT028240320is1 2.8" SPI display on an i.MX 93 00363 / 00428:
fw_setenv fdtfile boot/imx93-cargt-00363-00428-glt028240320is1.dtb
Taking Screenshots with Weston
Cargt images with a display run the Weston compositor, which includes
weston-screenshooter. It saves the whole screen as a PNG file named
wayland-screenshot-<date>_<time>.png. Weston only lets clients it trusts
take screenshots, so how you take one depends on where you start it.
With a Keyboard on the Board
With a USB keyboard connected to the board, press Super+S (the
Windows key and S). Weston starts weston-screenshooter itself and
allows it. The file is saved in Weston’s working directory, /home/weston
on Cargt images, or in the directory set by XDG_PICTURES_DIR in Weston’s
environment (for example in /etc/default/weston).
Over SSH or the Serial Console
A weston-screenshooter started from a shell is only allowed when Weston
runs with --debug.
Warning
Without --debug, weston-screenshooter prints
Output capture error: unauthorized but still exits with status 0
and writes a PNG file of the right size that is completely black. Check
for the error message rather than the file.
To enable it, add a systemd drop-in that starts Weston with --debug, and
restart Weston:
mkdir -p /etc/systemd/system/weston.service.d
cat > /etc/systemd/system/weston.service.d/screenshots.conf << 'END'
[Service]
ExecStart=
ExecStart=/usr/bin/weston --debug --log=${XDG_RUNTIME_DIR}/weston.log --modules=systemd-notify.so
END
systemctl daemon-reload
systemctl restart weston
Then take a screenshot. WAYLAND_DISPLAY tells it where Weston’s socket
is, and XDG_PICTURES_DIR where to save the file (the current directory
if it is not set):
WAYLAND_DISPLAY=/run/wayland-0 XDG_PICTURES_DIR=/tmp weston-screenshooter
Copy the file to your computer with scp:
scp root@<board-ip>:/tmp/wayland-screenshot-*.png .
Warning
--debug also enables Weston’s debug protocol, which lets any Wayland
client on the board capture the screen and read Weston’s debug output.
Use it only during development, and remove the drop-in afterwards:
rm /etc/systemd/system/weston.service.d/screenshots.conf
systemctl daemon-reload
systemctl restart weston
Rotated Displays
Screenshots show the framebuffer as it is sent to the panel, without the
display’s rotation. The 5.5” MIPI-DSI display is a 720×1280 portrait panel
mounted in landscape: its device tree sets the panel orientation, Weston
draws the desktop rotated to match, and screenshots come out 720×1280 with
the desktop on its side. modetest -c shows the orientation as the
connector’s panel orientation property:
root@imx93-cargt-00363-00365:~# modetest -c
...
     38 panel orientation:
             flags: immutable enum
             enums: Normal=0 Upside Down=1 Left Side Up=2 Right Side Up=3
             value: 3
For Right Side Up, rotate the file 90° counter-clockwise on your
computer, for example with ImageMagick (for Left Side Up, use 90):
convert wayland-screenshot-<date>_<time>.png -rotate -90 screenshot.png
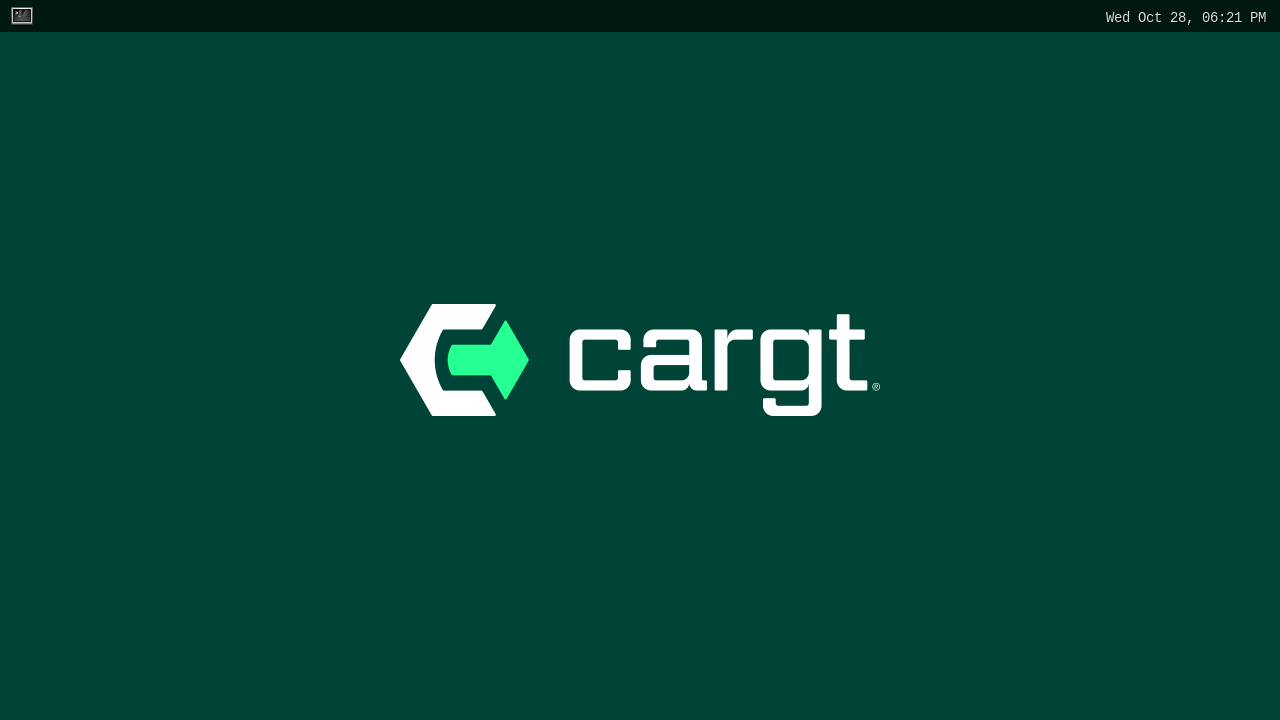
A screenshot taken with Super+S on an i.MX 93 00363 on the 00365 carrier with the 5.5” display, after rotating it:
Other Options
weston-screenshooter --help lists further options, for example
--format to save raw YUV data instead of a PNG.
Remote Desktop (RDP)
Weston can share the screen over the Remote Desktop Protocol (RDP), so you can see and use a board’s display from a computer, for example with Windows Remote Desktop Connection or FreeRDP. The board keeps showing the desktop on its own panel at the same time.
Cargt i.MX images include Weston’s RDP backend and FreeRDP. It was tested
on an i.MX 93 00363 on the 00365 carrier with the rotated 5.5” MIPI-DSI
display and on an i.MX 95 00414 on the 00365 with the 10.1” LVDS display,
running cargt-image-dev (wrynose).
Warning
Weston’s RDP server does not check the user name or password: anyone who can reach port 3389 on the board can see the screen and type into it. Use RDP only on a network you control, or block port 3389 and connect through an SSH tunnel (see Connecting through SSH).
The TLS Key
The RDP connection is encrypted with TLS. On its first boot, each board
creates its own self-signed certificate and key in /data/freerdp/keys
(the cargt-rdp-keys service). They are on the data partition, so they
stay the same across A/B updates and also work with a read-only root
filesystem. Clients show a certificate warning the first time they connect,
because the certificate is self-signed. To create a new key, delete
/data/freerdp/keys/server.key and reboot.
The [screen-share] section of /etc/xdg/weston/weston.ini points the
RDP server at that key:
[core]
modules=screen-share.so

[screen-share]
command=/usr/bin/weston --backend=rdp-backend.so --shell=fullscreen-shell.so --no-resizeable --rdp-tls-cert=/data/freerdp/keys/server.crt --rdp-tls-key=/data/freerdp/keys/server.key
Starting Screen Sharing
Screen sharing is off when Weston starts. Press Ctrl+Alt+S on a
keyboard connected to the board to start it until Weston restarts. To start
it every time Weston starts, add start-on-startup=true to the
[screen-share] section and restart Weston:
[screen-share]
command=/usr/bin/weston --backend=rdp-backend.so ...
start-on-startup=true
systemctl restart weston
To build an image that starts it automatically, set this in your
local.conf or distro configuration:
CARGT_WESTON_RDP_AUTOSTART = "1"
Weston then starts a second Weston instance with the RDP backend, which listens on TCP port 3389.
Connecting
Connect to the board’s IP address with any RDP client. Enter any user name and password if the client asks, and accept the certificate warning. From Linux, with FreeRDP:
xfreerdp /v:<board-ip>
Windows Remote Desktop Connection connected to an i.MX 93 00363 on the 00365 carrier with the 5.5” display. The terminals show the image’s release and the two Weston processes: the one driving the panel, and the RDP instance started by screen sharing:
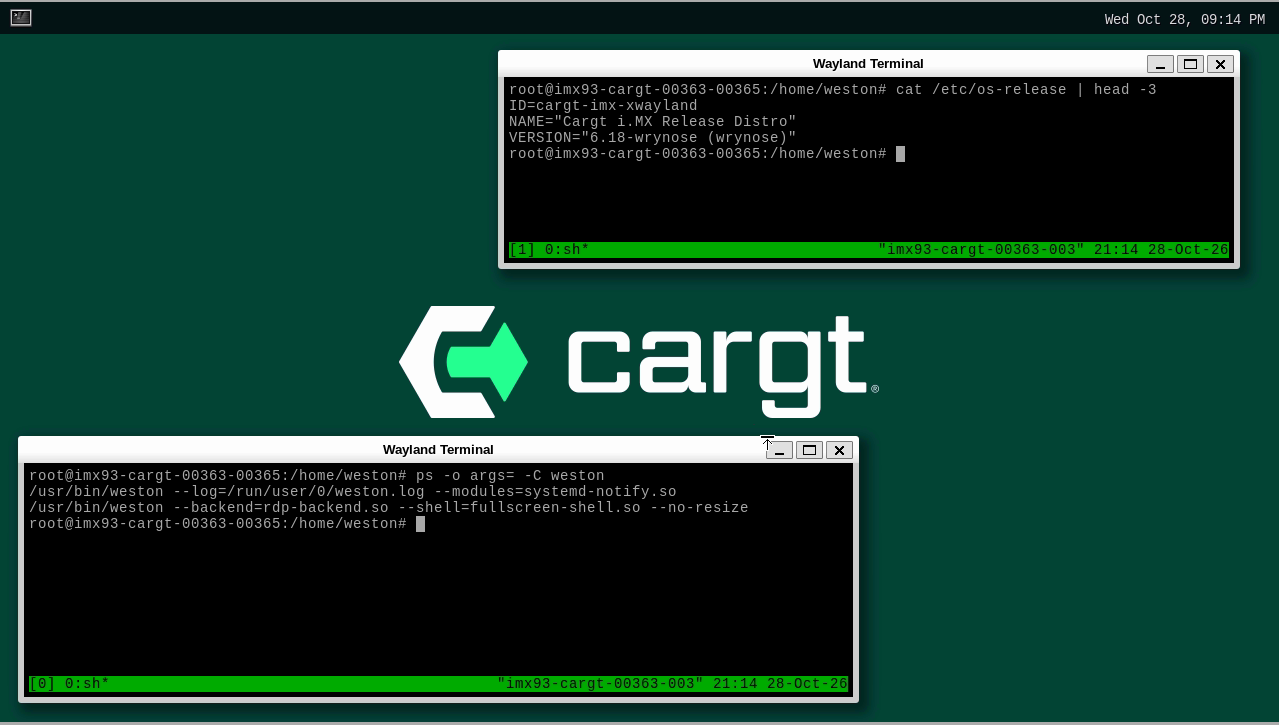
The remote view mirrors the board’s own panel: both show the same desktop, and keyboard and mouse input from the client goes to it.
Connecting through SSH
To keep port 3389 off the network, forward it through SSH and connect to the local end of the tunnel:
ssh -N -L 13389:localhost:3389 root@<board-ip>
xfreerdp /v:localhost:13389